Welcome to Things Made Simple, where I document my never ending journey of enlightenment as a total electronics novice and enthusiast.
-
YM3812 Part 10 – Pitch Bend

Explore retro sound chip pitch bending with Yamaha’s YM3812 OPL2 sound chip! Learn the programming techniques that bring chip tunes to life.
-
YM3812 Part 9 – Synth Card
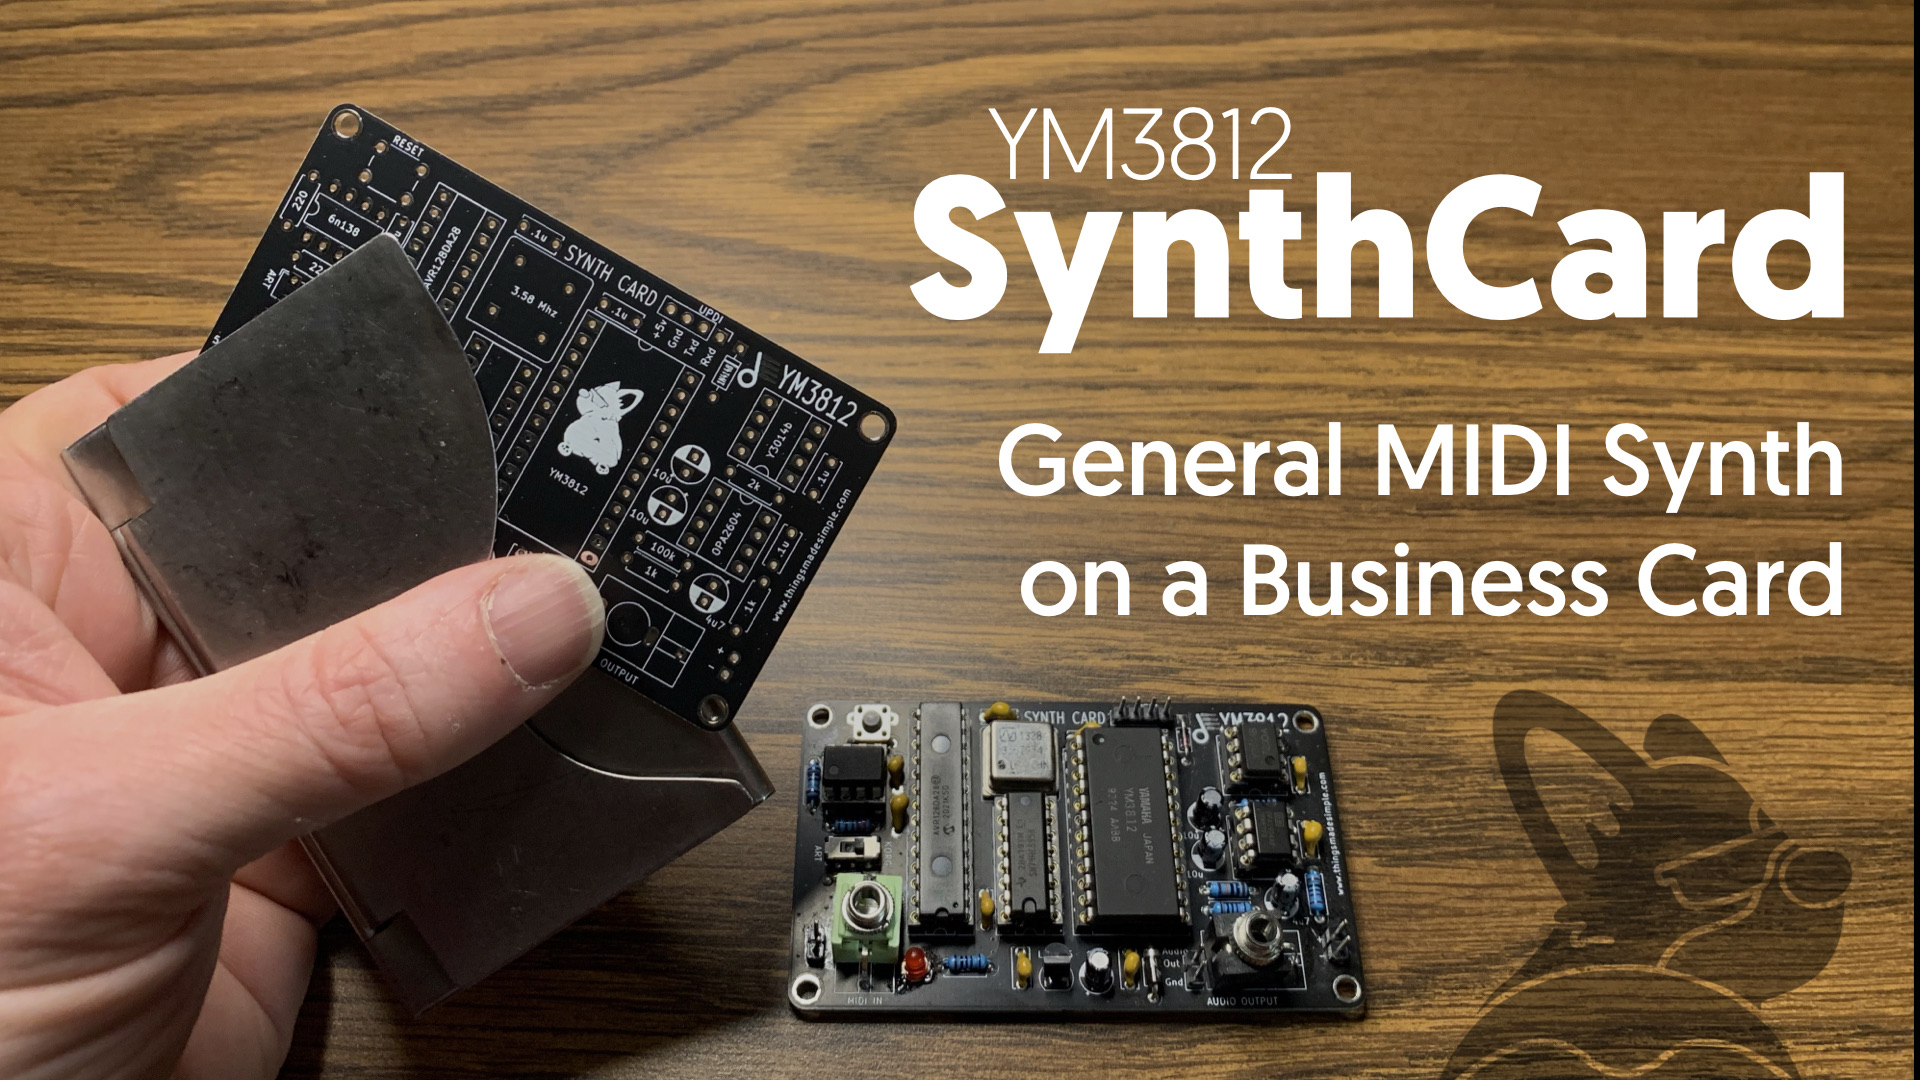
At the end of 2022, Benjie from Benjiao Modular released an Atari Punk Console synthesizer using a couple of 555 timer chips and a handful of other components. Now, there are lots of 555-based synthesizers out there, but in this case he printed it onto a PCB the size of a business card and added…
-
YM3812 Part 8 – Velocity Sensitivity
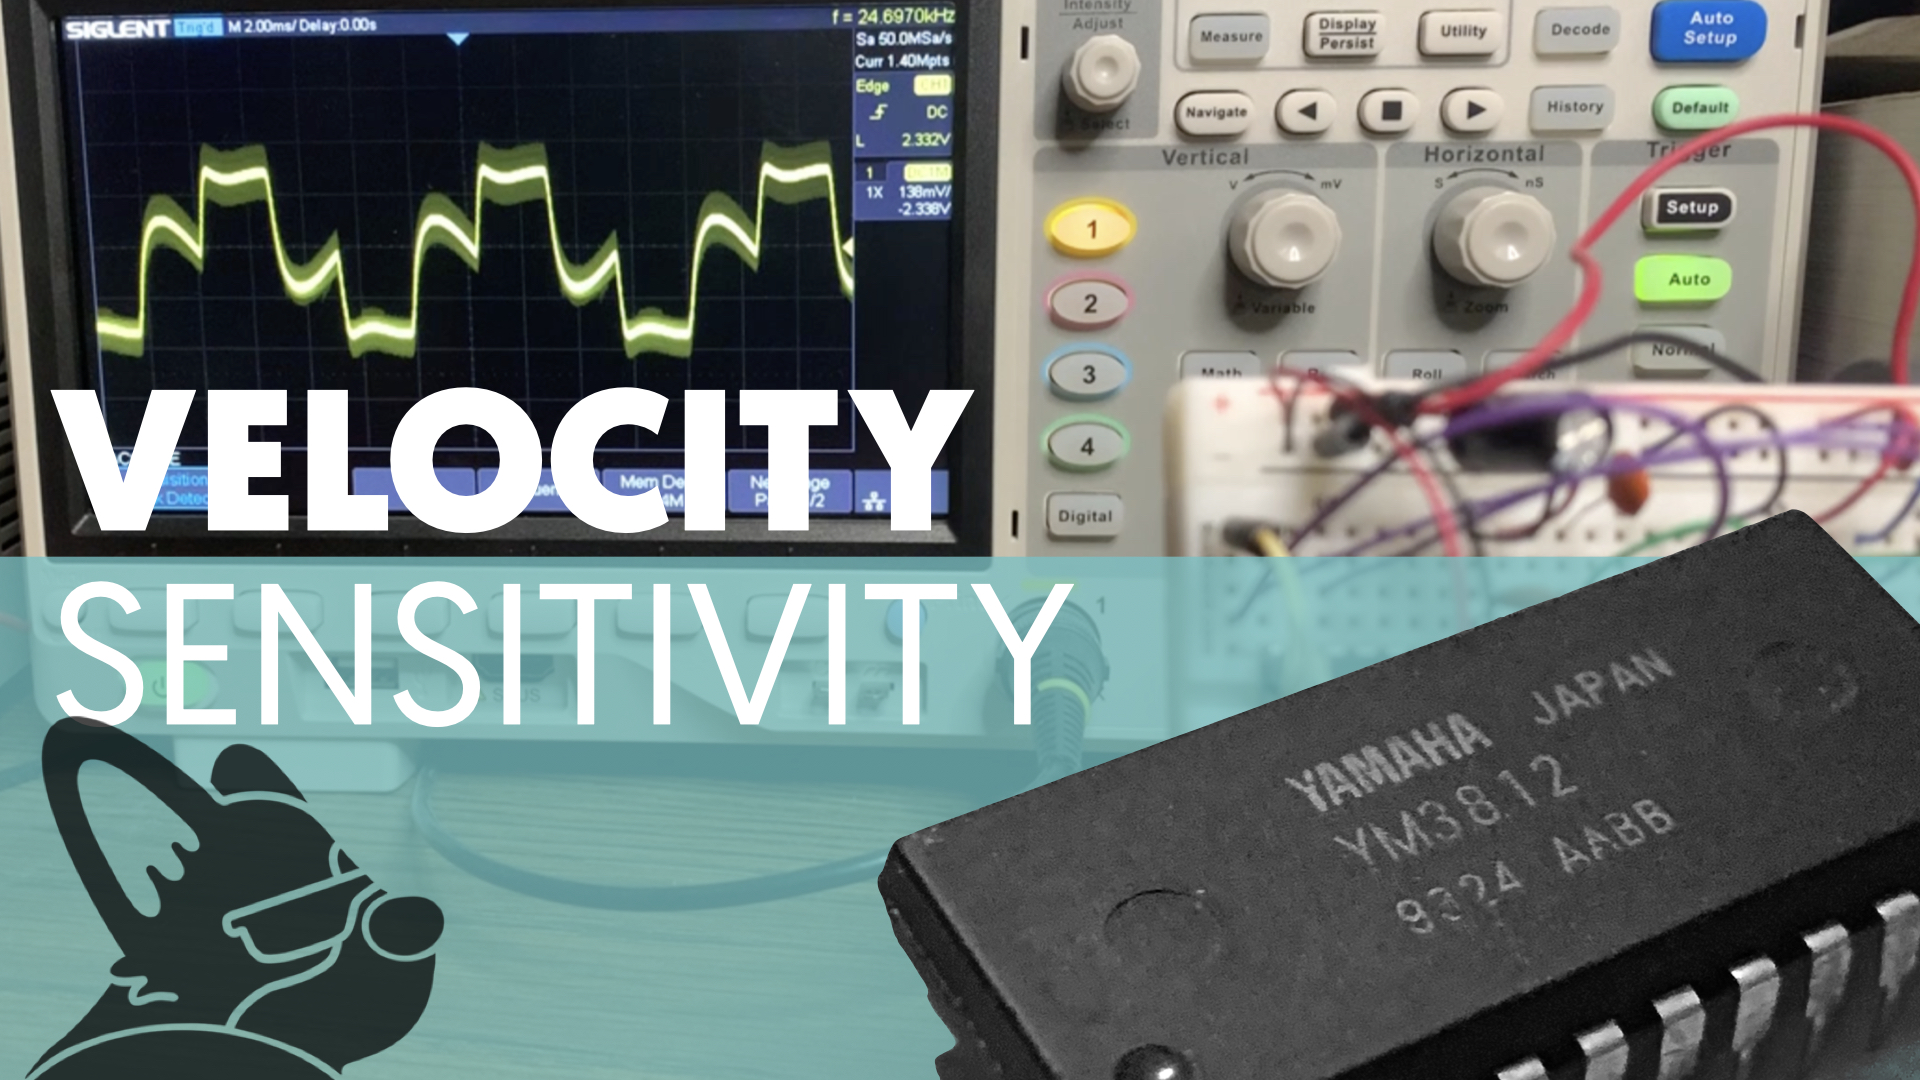
Today, it’s time to take our module to the next level. Lots of levels in fact! See, right now our module is full volume all the time. And well, music is more than notes and drum sounds—it needs dynamics! Fortissimo! pianissimo and every level in between. Of course, our General MIDI friends thought of this…
-
YM3812 Part 7 – Percussive Maintenance
What if you could take all of your beloved retro video games and play them on real OPL 2 hardware… but without using a Sound Blaster or Adlib card? In this article, we are going to do just that by adding percussion support to our YM3812 module. With drums in place, we’ll have enough of…
-
YM3812 Part 6 – Patches
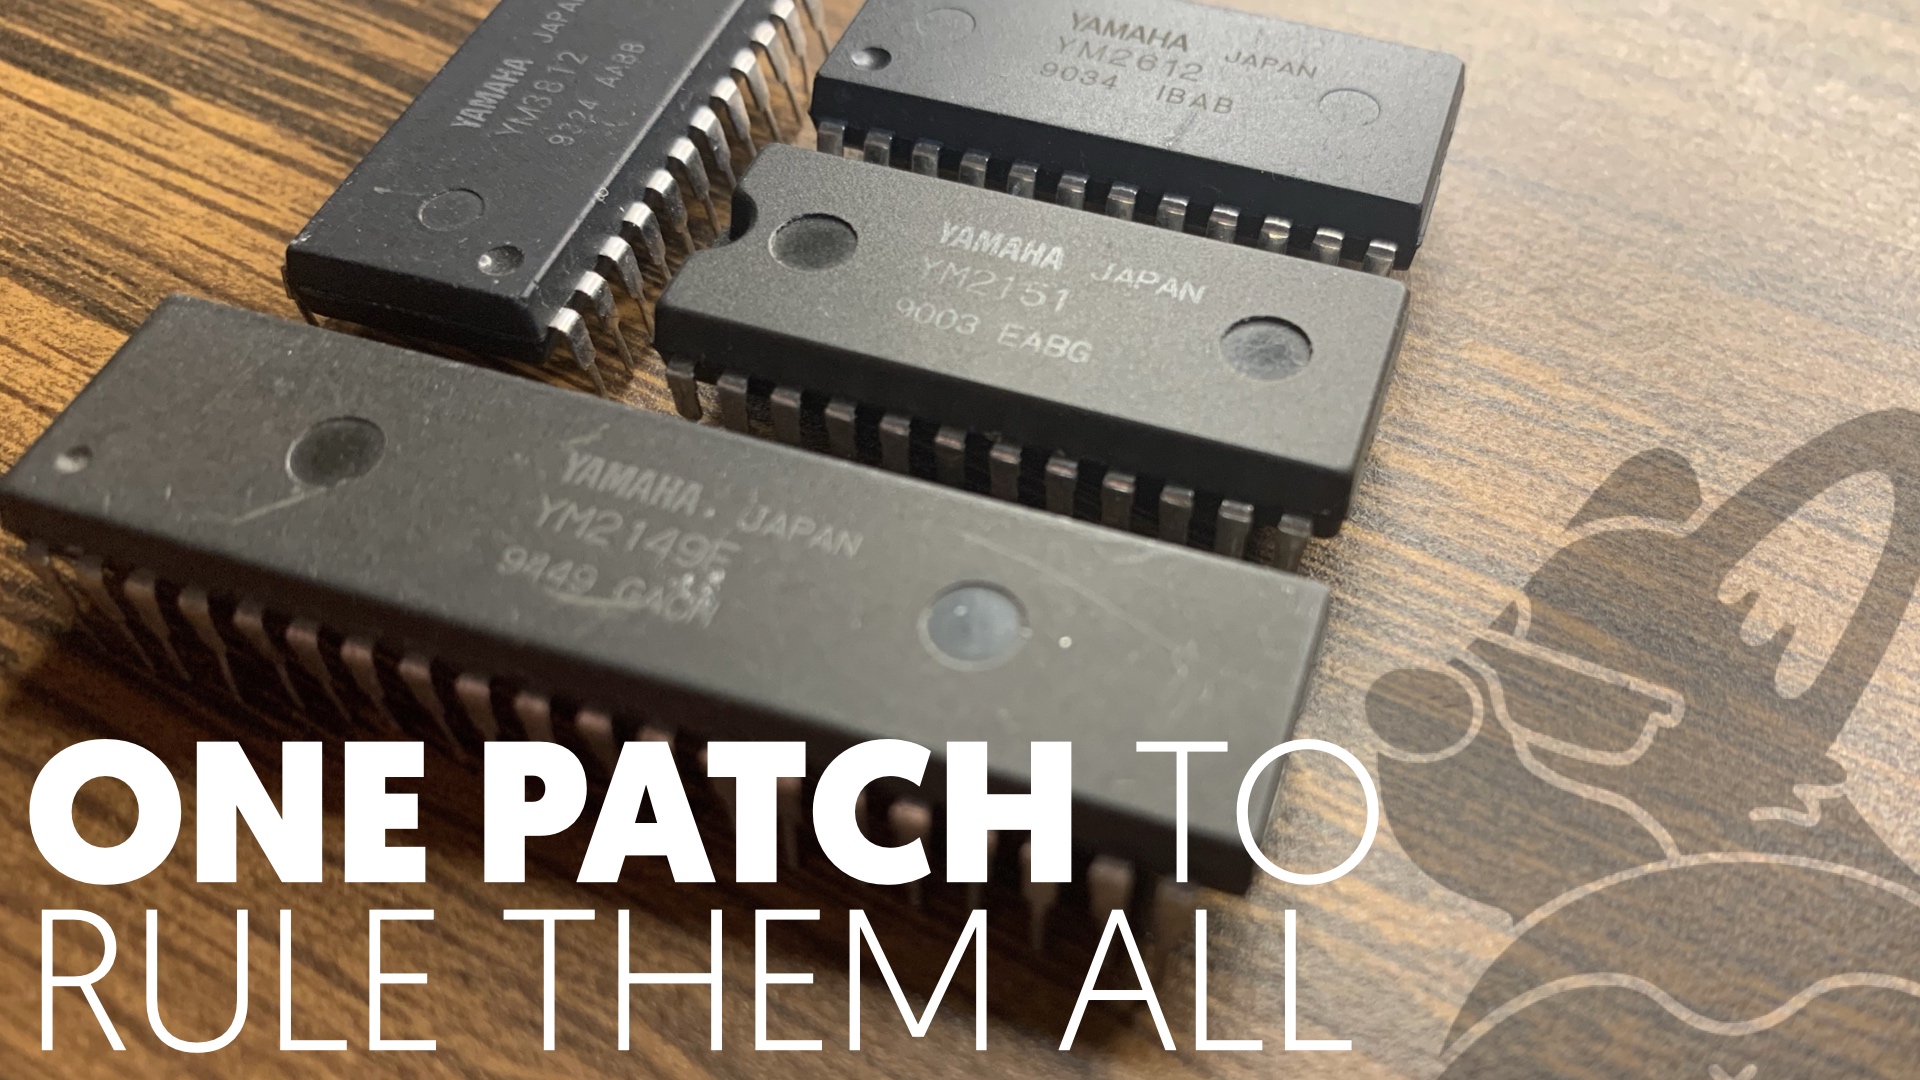
A couple years ago, I had this crazy idea of controlling multiple Yamaha FM sound chips with a single microcontroller. At the time, I had a YM3812, YM2151, YM2413 and even a non-Yamaha chip, the SN76489 on a breadboard outputting sound together. It turned out that controlling the chips themselves wasn’t really that hard. They…
-
YM3812 Part 5 – MIDI Polyphony

If you’ve followed the series so far, welcome back! In the last article, we added MIDI control to our YM3812 module. This allows us to play music by sending signals from a computer, keyboard or any other midi source. Still, you can only play one note at a time, and there is a pretty annoying…
-
YM3812 Part 4 – MIDI Journey
If you followed along through last three posts, then hopefully you have a Yamaha YM3812 OPL Sound Chip on a breadboard playing a lovely F Major 7th chord over and over and over 😅. Or maybe, the annoying repetition drove you to experiment and find new patterns. It’s a great proof of concept that ensures…
-
YM3812 Part 3 – Behind the Code
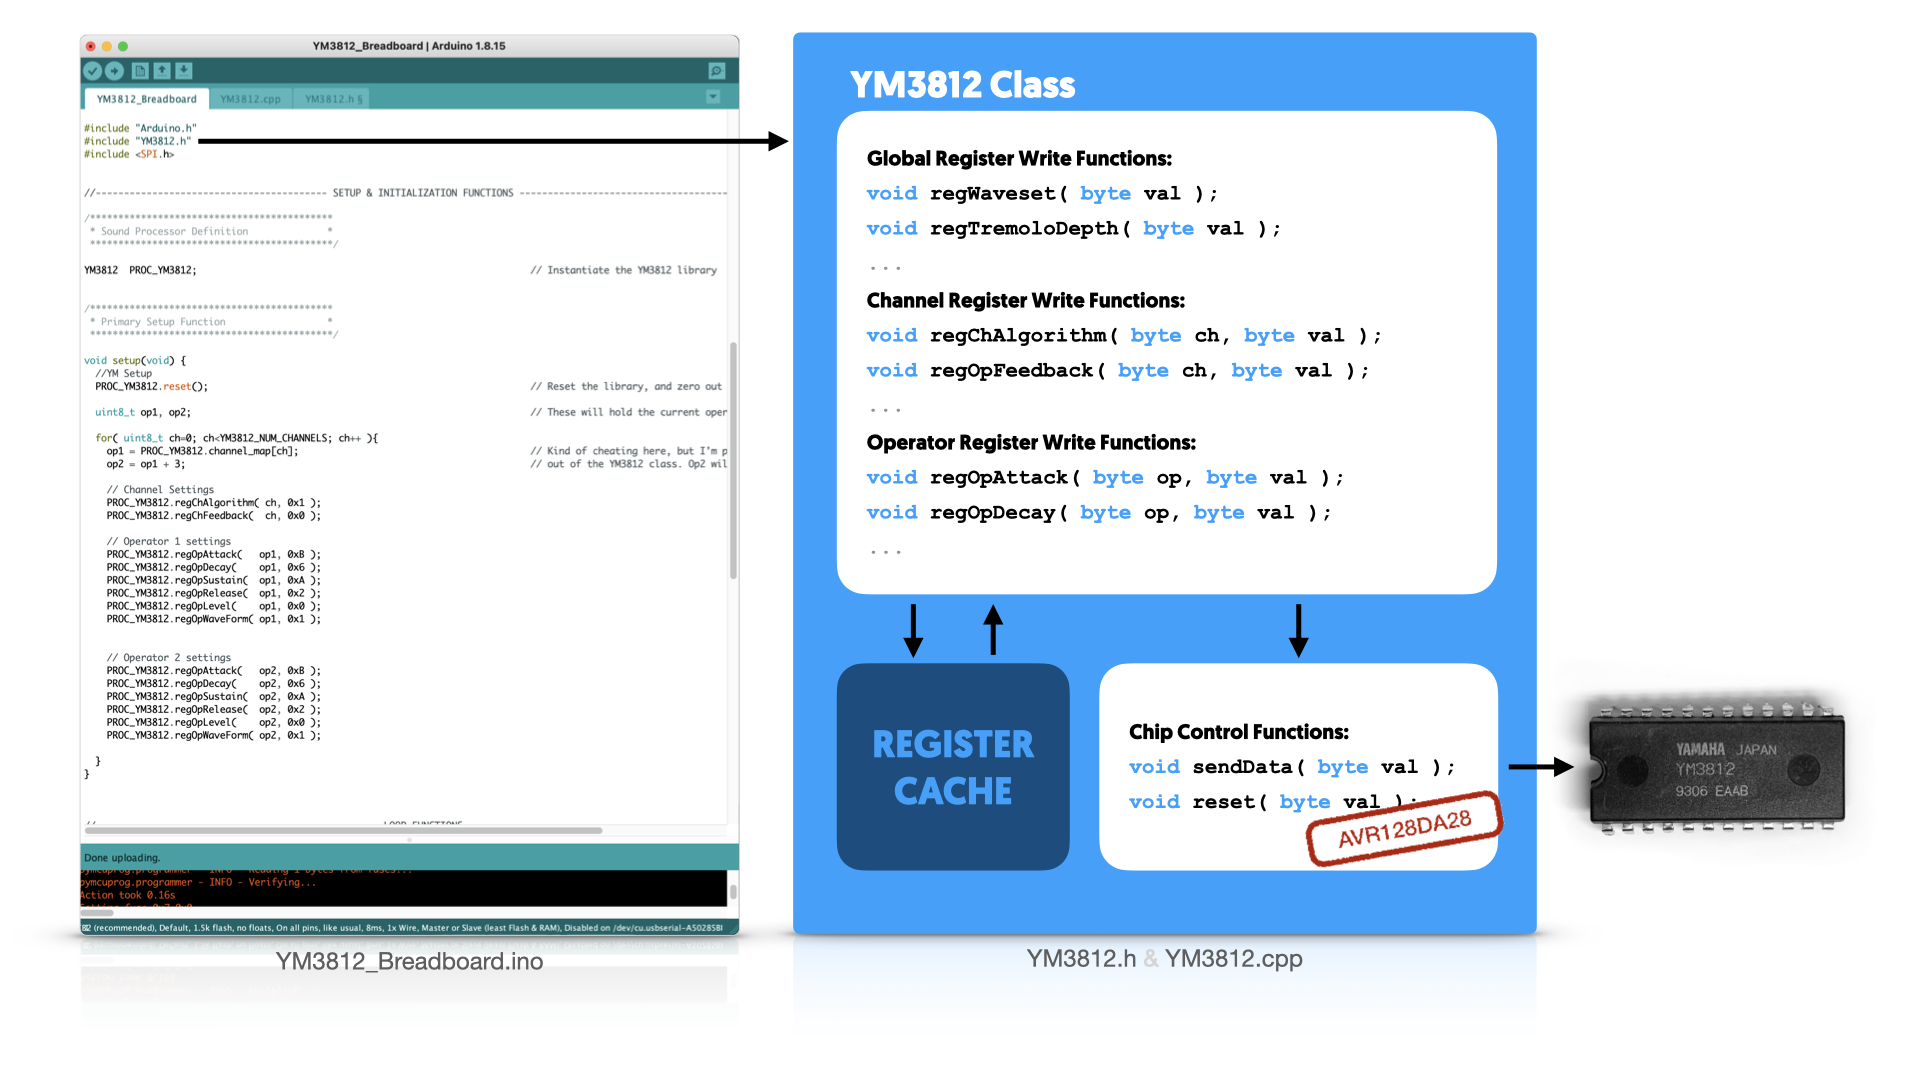
The YM3812 Class In the last article, we built a simple circuit to get our YM3812 up and running on a breadboard. To do that, we used code from the GitHub repo and just kind of glossed over how the it works. In this article, let’s delve into the sea of complexity that is c++…
-
YM3812 Part 2 – FACE Reveal

FACE Reveal In the last article we dug into the YM3812 registers and how to manipulate them an electrical level. Today we are going to build up the first part of the schematic—just enough to get sound working through a microcontroller. Whenever building on a new platform, What’s the first thing you implement? Hello World.…
-
YM3812 Part 1 – Register Basics
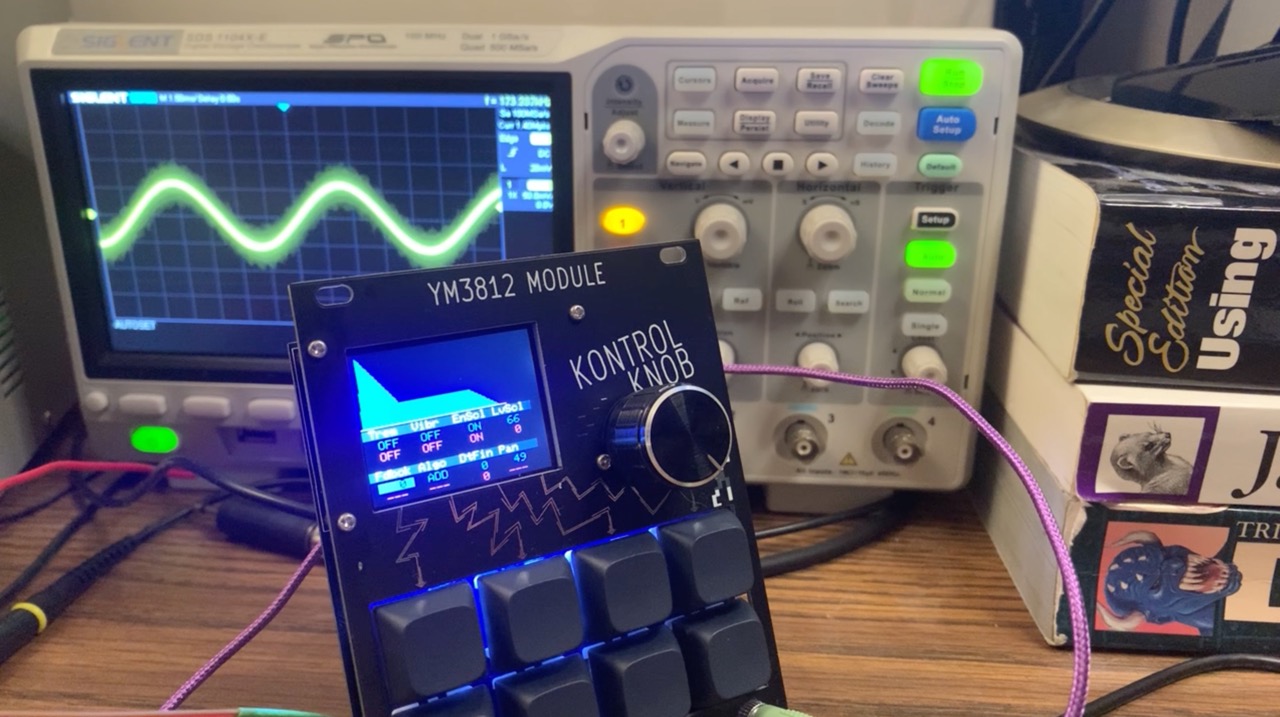
Introduction In conducting a pretty extensive deep dive into Yamaha’s FM synthesis chips, I’ve come to realize that while these chips produce very unique sounds, they are also largely very similar. In fact, if you compare their register settings (and ignore the level of granular control that you get), you can see just how many…
How this all started:
In January of 2019, I was reading HackSpace magazine and stumbled across an article on how to build a synthesizer. I’ve always been a tinkerer and love to go deep into the way things work. This project tickled several fancies of mine from technology to music to electronics and even a new kind of “User Experience.”
I’m a UX designer by day, and have been for the last 20 years. In software design, nothing seems to last more than a year or two before it gets thrown out and redesigned. So there is something beautiful about the permanence of building a thing. Electronics, of course, date themselves just as fast as apps and websites. But an instrument that happens to be electronic is still unique and as such, retains its beauty, purpose, and value.
Going back to the HackSpace article, it referenced this Look Mum No Computer guy. And, after watching Sam walk through his massive DIY synth, I knew I had to figure this stuff out.
Of course there is a BIG learning curve. So my goal is to take the time to thoroughly document everything about each project in articles on this site. Hopefully even novice enthusiasts like myself will understand and enjoy them!
If you have a question about how something works, or when I inevitably get something wrong, please feel free to comment! We can all learn together.

